
Well, it took me almost two years, but I just finished this quilt for my sister’s birthday today. She and I went antique shopping one day in late 2011, and I happened to find these squares finished in the Trip Around the World pattern. I have a weakness for older fabrics, so I bought them, knowing I would love to make a quilt out of them. I didn’t realize until I got them home that there were only 11 squares, not the 12 I thought I had counted. One of the 11 was even different in that it didn’t have a row of pink polka-dotted material. I thought about it, and decided to use the odd one to make a pillow case out of, so that left me with ten. Here is a picture of the pillow.
After I made the pillow, the squares just sat around until I could decide what to do with them. I loved all the colors, but finally decided on focusing on the yellow. Unfortunately, another problem I ran into was the blocks were all different sizes. One was 16 inches, and the others ran anywhere from 17 inches to almost 18. I went for the middle, and cut all of them to 17 inches, and added a red border to the one that was 16 inches. Finally, I was left with a nice pile of even squares.
In May, I finally bought the material, and started cutting the blocks. I liked the look of the squares on point, and started laying them out. This is what I ended up with. You’ll notice I didn’t have a lot of room to work with on the floor, so it’s kind of a bad picture.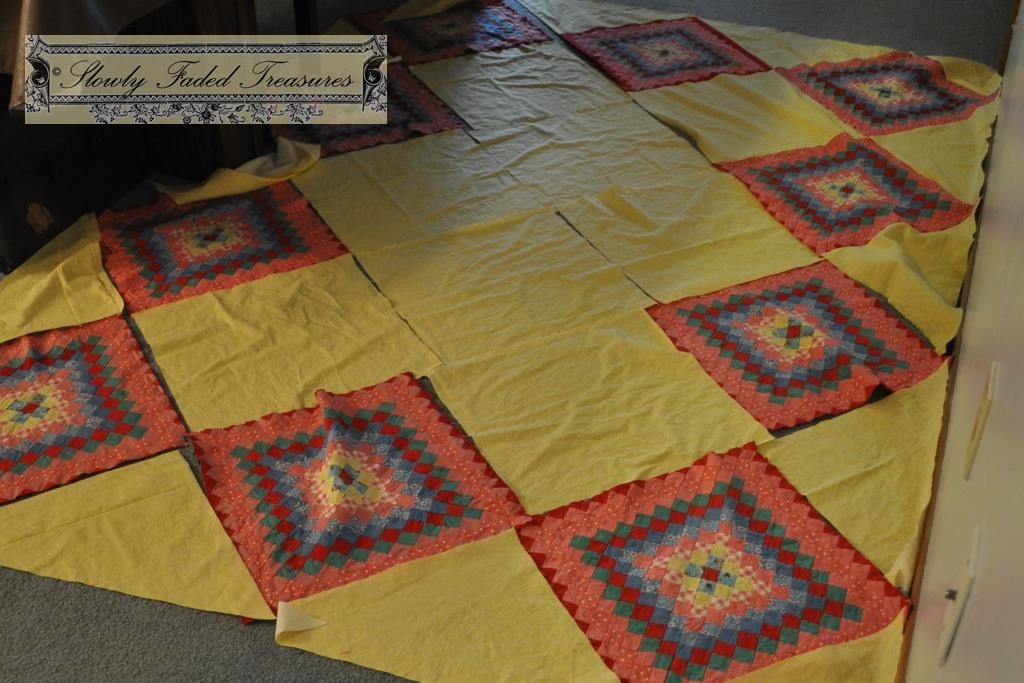
And here is the quilt top all sewn together. I had to take into account the two missing pieces, so I decided to leave them out of the middle. I actually like the way it turned out. 
Once the quilt top was put together, I let it sit until July, when I could get back to it. Since the quilt was already on the large size, I decided on one small red border, and one small yellow border, followed by a red binding. The top was officially done.
Unfortunately, the next steps are the ones I like to do least in the quilting process. That’s why I waited until last Sunday to start on this. Talk about procrastination. I like to do the top, because it is a bit like putting a puzzle together, and I like seeing the outcome. The actual quilting is just not for me, but I do it anyway. I used a red material for the backing to match the border, and pinned the top and batting to the backing. I then stitched in the ditch, and also stitched a square inside each pink square.
The binding was the last step, and I did cheat a little on this. I left the backing piece longer than the quilt top on each side, and just folded it over to sew. With this picture, you can see the yellow fabric had a bit of a polka dot effect also. 
And here is a picture of the back. I used yellow thread that matched the fabric, so it really shows up on the back of the red. 
I washed it, and was relieved to see the red didn’t bleed into the yellow. I had pre-washed all the fabrics anyway, but it always makes me worry. Here she is laid out on the bed. Such a happy quilt:)
Thanks for looking!
Sarah
Linking up with Funky Junk Interiors and Between Naps on the Porch, and A Stroll Thru Life:


10 replies on “Pretty Yellow Quilt with Vintage Squares”
So beautiful – I love them.
Thank you! I couldn’t resist buying them:)
Beautiful job!!! Love, Mimi
Thank you! I hope all is well with you guys. Give everyone a squeeze for me.
Very nice, Sarah! You are very talented!
Thank you, Vicki! I am still in the learning stage, but this one did turn out pretty good.
What a perfect gift for your Sister! Love is always sewn into every quilt you give to someone to be cherished forever even after it is tattered and worn. Grandma used to have people help with the tacking of the quilts as they were hand stitched back in the day. We had many fun hen parties(sorry couldn’t resist). You are such a beautiful, loving, caring, young woman. Pop and I are so very proud of you!
My coworker and I were just talking about hand quilting. I’m glad I have another way to do it:)
Your quilts are stunning, so beautiful and so much work. Thanks so much for linking to Inspire Me. Hugs, Marty
Thank you, Marty, and thanks for hosting the party for all of us to link up. We do appreciate it!